Keycloak Authentication
01 Dec 2023 - sj, tags: archiving, insights, news, product
Keycloak is an open source Identity and Access Management (IAM) solution supports single sign-on (SSO) and much more. In this article we’ll setup piler to authenticate against Keycloak using SSO.
Prerequisites
You have a working Keycloak deployment, and piler enterprise is also installed. in this example we’ll use https://keycloak.example.com and https://archive.example.com for Keycloak and piler URLs respectively.
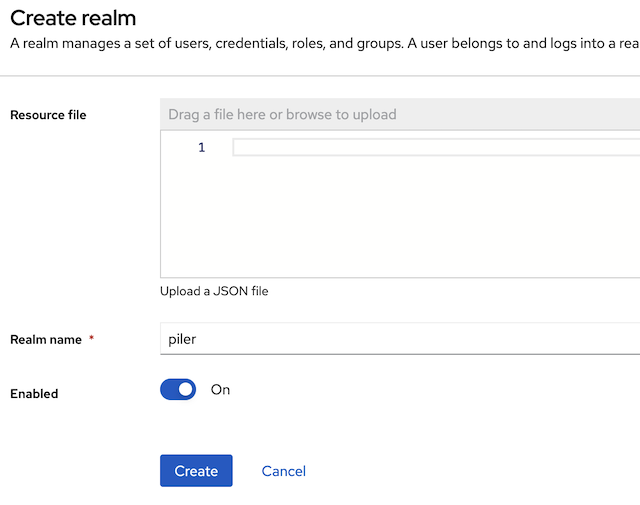
Create a new realm
The realm name may be “piler” or similar
Create a new client for piler
Client type: OpenID Connect
Client ID: piler
Fill the Name and Description fields according to your needs

Then select the “Client authentication”
Make sure that at the Authentication flow “Standard flow” and “Direct access” are set

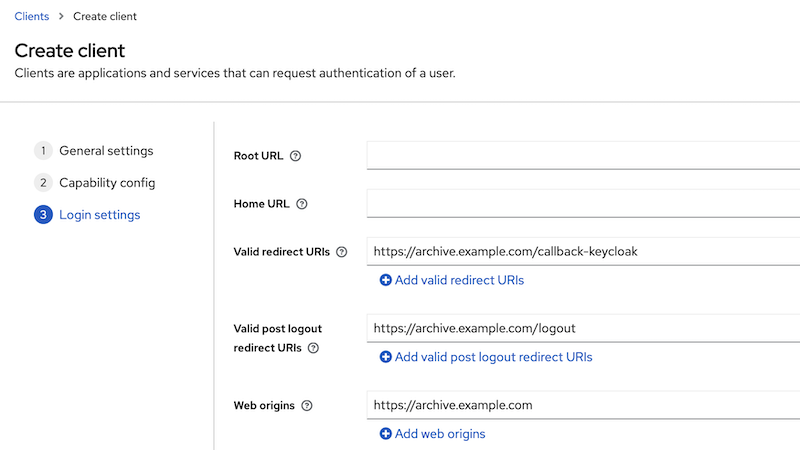
Fill the URI fields:
- redirect URIs: https://archive.example.com/callback-keycloak
- logout redirect URIs: https://archive.example.com/logout
- Web origins: https://archive.example.com
Get the client secret
Click on the credentials tab, and copy the client secret value

Create realm roles
Piler is able to recognize the roles you may attach to the Keycloak users or groups.
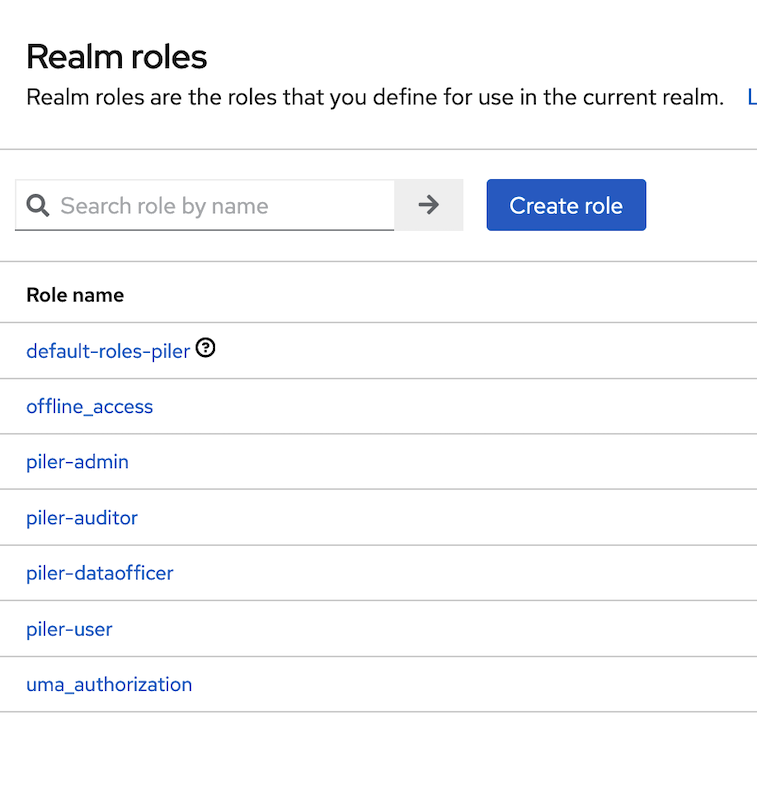
Create the following roles for piler:
- piler-admin
- piler-auditor
- piler-dataofficer
- piler-user
By default all Keycloak users are regular users in piler. In the below example we create a Keycloak group, and assign the piler-admin realm role.
Create a new group, called piler-admin

Select the piler-admin role that you created before

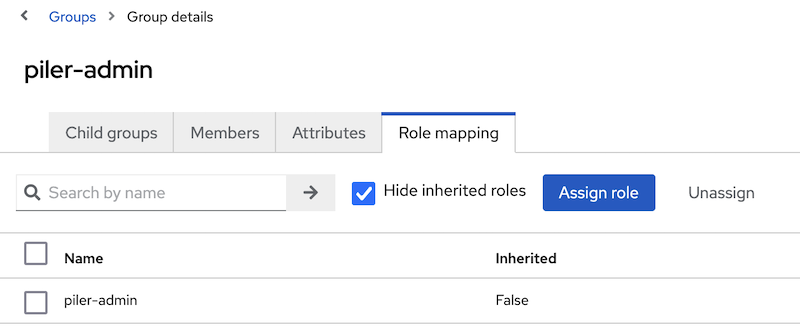
Verify that the role has been assigned to group
Enable Keycloak SSO in piler config
The final step is enabling Keycloak SSO. Edit /etc/piler/config-site/php, and set the following:
$config['ENABLE_KEYCLOAK'] = 1;
$config['KEYCLOAK_SERVER'] = 'https://keycloak.example.com';
$config['KEYCLOAK_REALM'] = 'piler';
$config['KEYCLOAK_CLIENT_ID'] = 'piler';
$config['KEYCLOAK_CLIENT_SECRET'] = 'xxxxxxxxxxxxxxxxxxxxxxxx';
Login to the archive
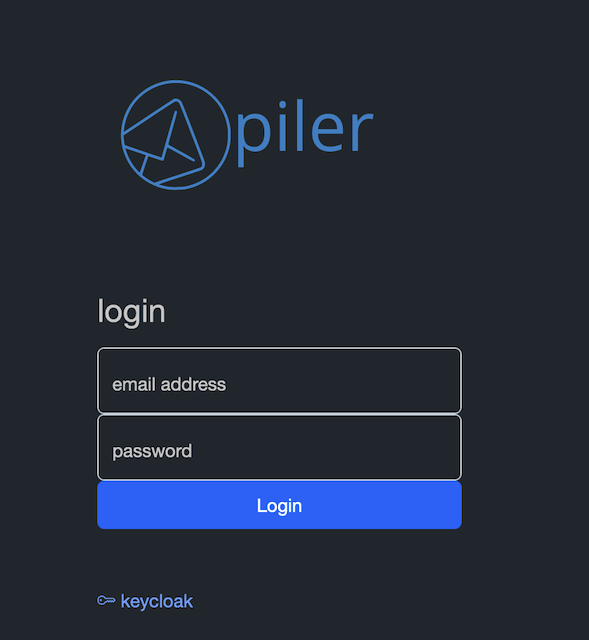
Navigate to the archive, https://archive.example.com, click on the keycloak link under the login form.
You are redirected to the keycloak server, type your credentials.
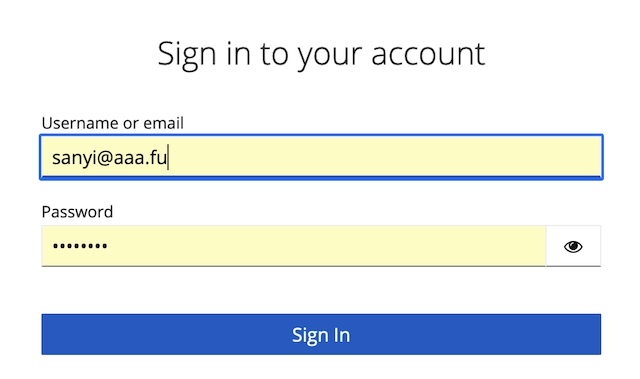
When successful, you are redirected back to the archive.
