Okta Oidc Authentication
06 Dec 2023 - sj, tags: archiving, insights, news, product
OKTA is an Identity and Access Management (IAM) solution supports single sign-on (SSO) and much more. In this article we’ll setup piler to authenticate against OKTA using OpenID Connector (OIDC) SSO.
Prerequisites
You have an OKTA subscription, and piler enterprise is also installed. in this example we’ll use https://archive.example.com for piler URL.
Create new application
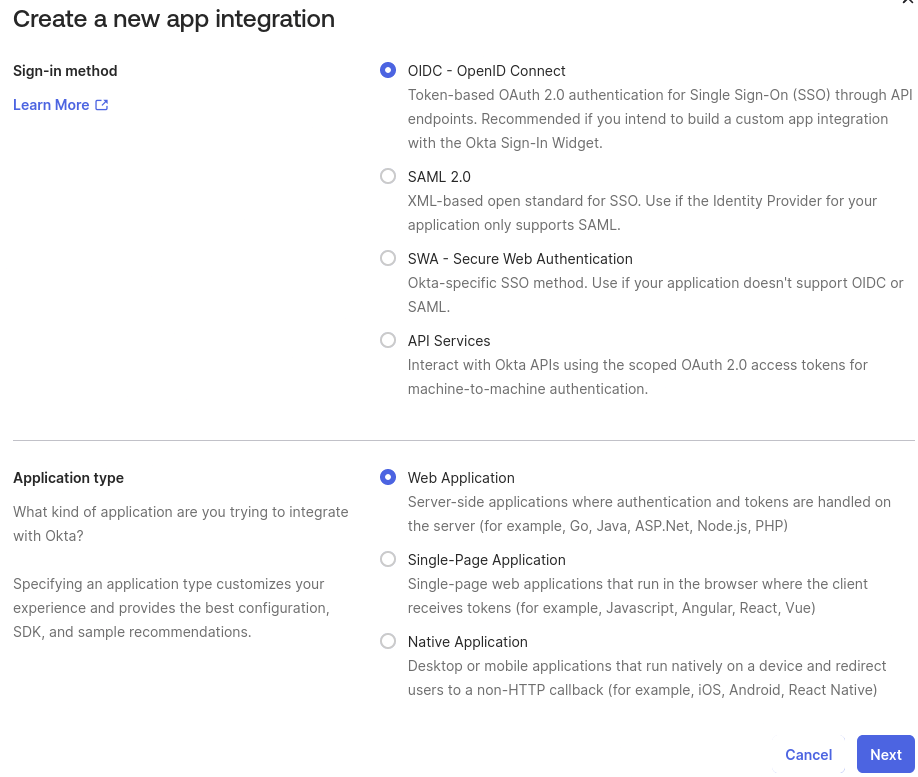
In the Applications menu click on the “Create App Integration” button.
Select “OIDC” as the sign-in method, and “Web Application” as the application type. Then click “Next”.
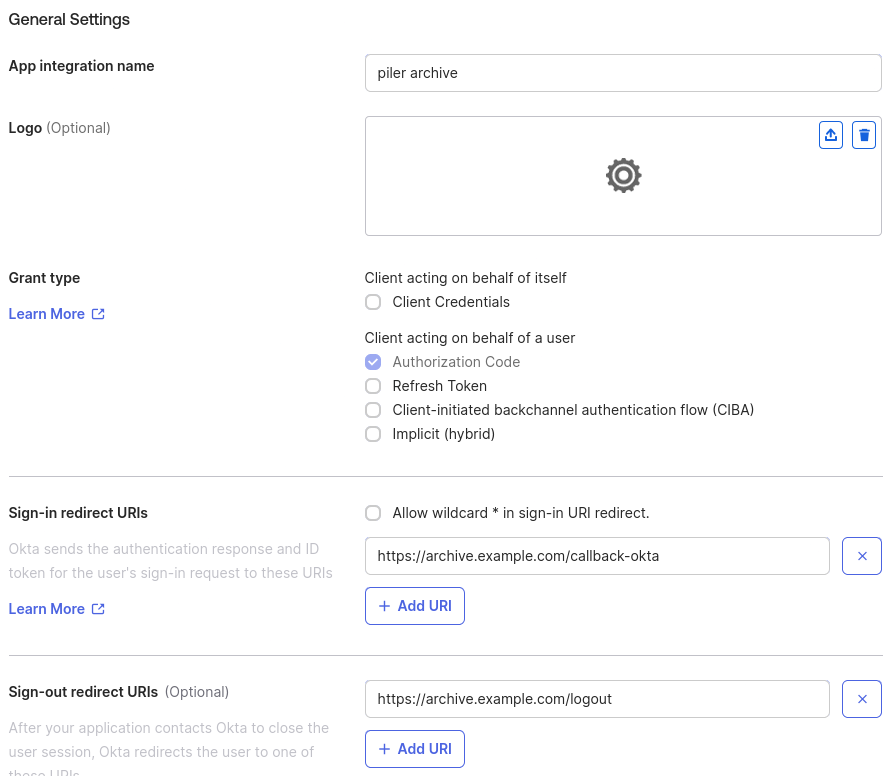
Give a name for the application, eg. “piler archive”
Sign-in redirect URIs: https://archive.example.com/callback-okta
Sign-out redirect URIs: https://archive.example.com/logout
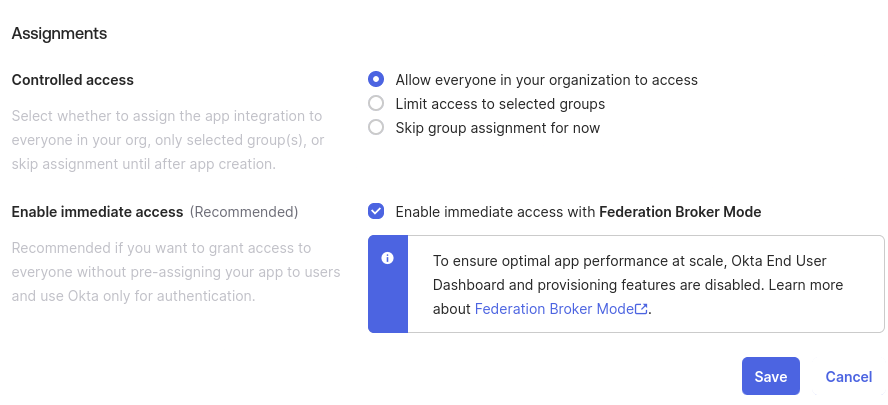
In the “Assignments” block select “Allow everyone in your organization to access”. Note that you may restrict access to the archive to selected groups. In that case select “Limit access to selected groups”, and specify those groups.
Then click on the “Save” button.
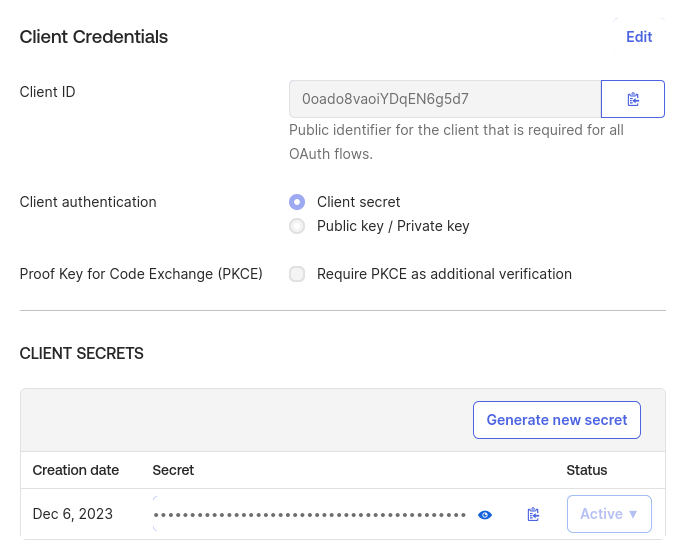
On the next screen record the client id and the secret values. In this example they are “0oado8vaoiYDqEN6g5d7” and “pQGCe29RDGtyvE6JYPPXt8xAhBxDljnzO7tmXptbhuJpX6H-Mc9Wg8H7wFEkSoSp”
Add support for the group scope
Click on the “Sign On” tab, then at the “OpenID Connect ID Token” section click on “Edit”.
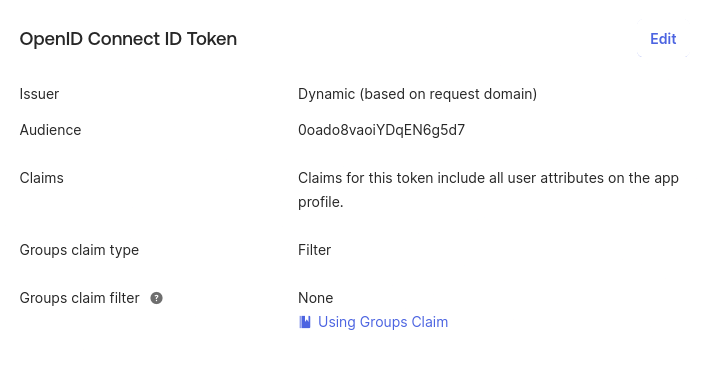
For the “Groups claim filter” settings select “Matches regex”, and type “.*”, then click save. Note that you are free to choose other filter type, eg. “Starts with”, etc.

Create groups
It’s possible to use OKTA groups to grant admin, auditor, etc. roles to users. In this example we create two groups, “piler-admin” and “piler-auditor”. Users put to the piler-admin group will be granted admin role in the piler GUI, while users put to the piler-auditor group will be granted auditor role. Note that you may create piler-dataofficer and piler-restricted-auditor groups as well, based on your needs.
Users that belong to neither groups will be regular users without any special privileges.
Click on the “Add group” button, type piler-admin as the group name, then click on “Save”.
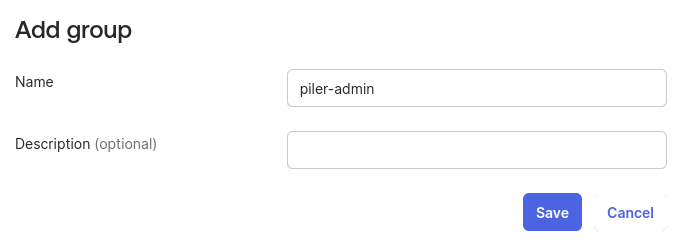
Repeat the process for piler-auditor group.
Assign users to the group
Assuming you already have users in OKTA, let’s assign a user to the piler-admin group. Click on the piler-admin group, on the “People” tab click on “Assign people”, then on the “+” sign.


Enable OKTA SSO in piler config
The final step is enabling OKTA SSO. Edit /etc/piler/config-site/php, and set the following: Be sure to use your own okta issuer URI!
$config['ENABLE_OKTA'] = 1;
$config['OKTA_OAUTH2_ISSUER'] = 'https://dev-xxxxx.okta.com/oauth2/default';
$config['OKTA_OAUTH2_CLIENT_ID'] = '0oado8vaoiYDqEN6g5d7';
$config['OKTA_OAUTH2_CLIENT_SECRET'] = 'pQGCe29RDGtyvE6JYPPXt8xAhBxDljnzO7tmXptbhuJpX6H-Mc9Wg8H7wFEkSoSp';
$config['OKTA_OAUTH2_REDIRECT_URI'] = 'https://archive.example.com/callback-okta';
$config['OKTA_ADMIN_GROUP'] = 'piler-admin';
$config['OKTA_AUDITOR_GROUP'] = 'piler-auditor';
$config['OKTA_RESTRICTED_AUDITOR_GROUP'] = 'piler-restricted-auditor';
$config['OKTA_DATAOFFICER_GROUP'] = 'piler-dataofficer';
Login to the archive
Navigate to the archive, https://archive.example.com, click on the okta oidc link under the login form.
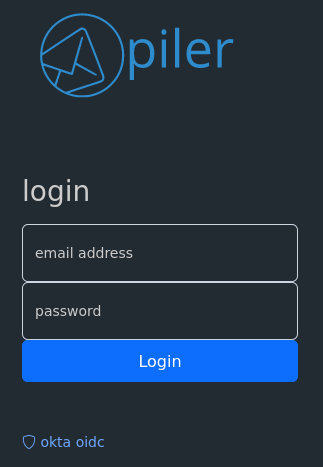
You are redirected to OKTA, type your credentials.

When successful, you are redirected back to the archive.