Saml 2.0 Authentication With Keycloak
24 May 2024 - sj, tags: archiving, insights, news, product
In this article we’ll discuss how to authenticate users against a SAML 2.0 SSO service. We’ll use Keycloak in this example as the SAML 2 provider.
What’s SAML 2.0?
SAML 2.0 (Security Assertion Markup Language) is an open standard created to provide cross-domain single sign-on (SSO). It allows a user to authenticate in a system and gain access to another system by providing proof of their authentication. The SAML 2.0 protocol is mainly used for enterprise and government applications.
The SAML 2 authentication flow has 2 parties (besides the user):
- service provider (SP): the web application, in this case piler
- identity provider (IdP): the service handling the authentication, in this case Keycloak
If you use traefik for piler to provide a https certificate, then you are just minutes away to protect piler with a Web Application Firewall (WAF).
Assuming that you already have the above setup running, let extend it to have WAF protection against SQL injection, XSS and other attacks.
Setup Keycloak for SAML authentication
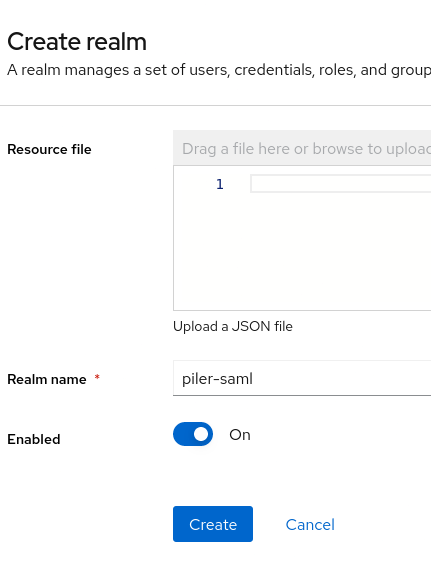
Create a new realm
Create a new realm for piler, let’s call it “piler-saml”
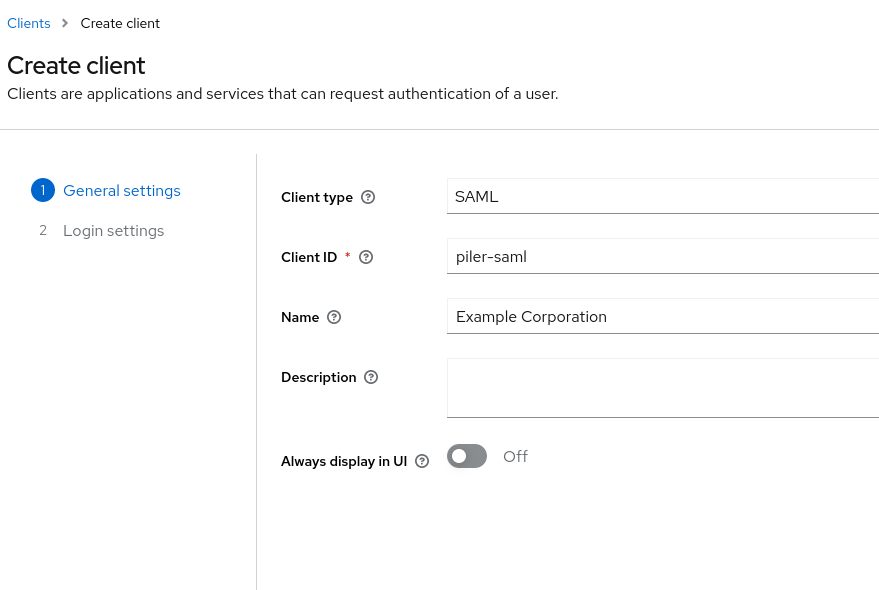
Create a new client
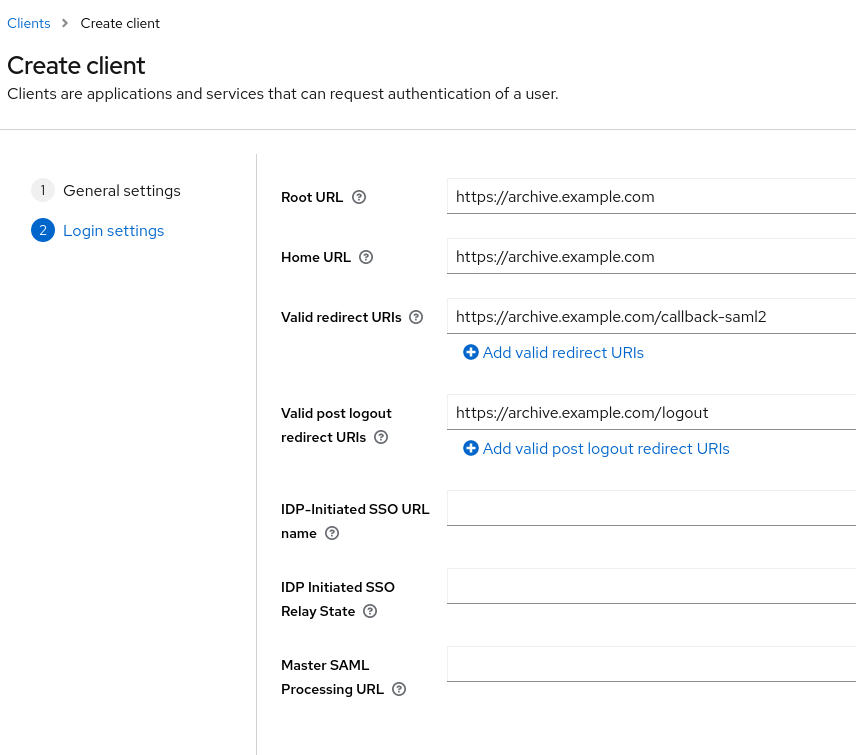
Setup the URL and URI values. In this example the archive’s URL is https://archive.example.com/
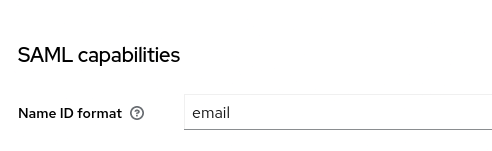
At the “SAML capabilities” choose “email” as the “Name ID format”, then click on Save.
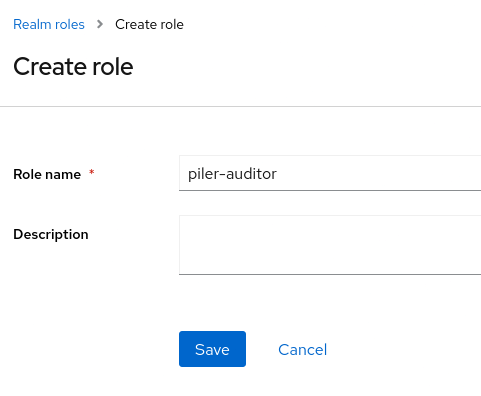
Create piler roles
At the “Realm roles” create a new role “piler-auditor” for piler. The purpose is to grant auditor capabilities in the piler gui for users having the “piler-auditor” role.
Create the following realm roles as well:
- piler-admin
- piler-dataofficer
- piler-restricted-auditor
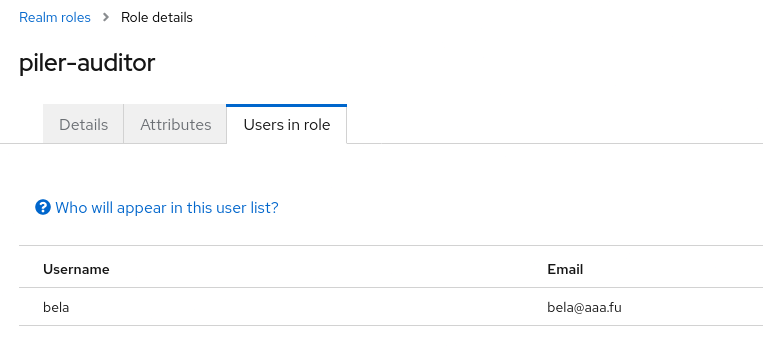
Create users in the “piler-saml” realm
For an auditor user, be sure to set the piler-auditor role.
Get the realm certificate
Locate the “Endpoints” in “Realm settings” menu, then click on the “SAML 2.0 Identity Provider Metadata” link.
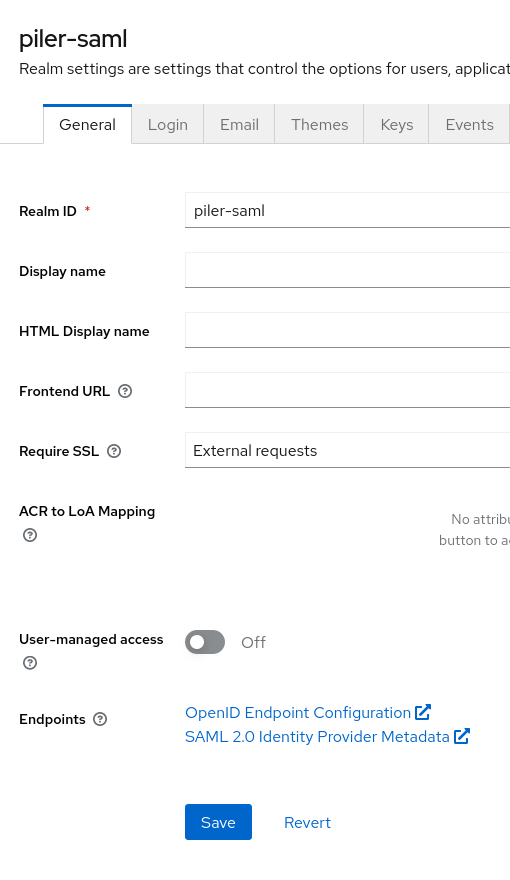
You’ll get an XML output, you need the content in the “<ds:X509Certificate></ds:X509Certificate>” block, and we’ll reference it as the IdP certificate later. You may find an example output below:
<ds:X509Certificate>
MIICozCCAYsCBgGPre44mjANBgkqhkiG9w0BAQsFADAVMRMwEQYDVQQDDApwaWxlci1zYW1sMB4XDTI0MDUyNTA0MDUyMVoXDTM0MDUyNTA0MDcwMVowFTETMBEGA1UEAwwKcGlsZXItc2FtbDCCASIwDQYJKoZIhvcNAQEBBQADggEPADCCAQoCggEBAMR730jzeNU6zXTK2LyLYmhgm61voUe3ECbJLDwm+dMrBnfb58FPbGmMp06wJ0XVvf5jJMsjd6GStQbHNCvBFNhCajcd4vzM7V15LOrodMpbxcL08Y1gE2Qh0OWQMc3FaHrC1Q+YCHzI/JkJLQG3E8kjMLYRugmJ+am6q0d0vWDqErdb9vL0aLwtnPuEaCavdALW/6Aa4qGLxriFNbivxZT0LpjBNBVpLKs/8RQX4/8eK7eYvHbwLAGI5oxxMiUuh0BMIDfnMMF5rI1vlW3qe1dqYz55jaROkqEA4gjA62ZiwGULaD9O4r8iVa7Qjrlynt5aFBC9h61suHb2E8H7z4ECAwEAATANBgkqhkiG9w0BAQsFAAOCAQEAsugdNyBv/TYxZLEgvtMCokl1fwNr//+17UG7VpGKxx5wBThQQGl3dlgZROZ8JuLpeYsuhQAtminwmrdc6rQJVGtWopsW8jcnHuAnu7GIclJuV5KfIvJ0yx4vk50uMcl+vPjuPSE9Htw4A+Imfgfw3sOkbQcC6wOv3qvTJxhAsSkFD8jGnt2f6DJT/ZaYLTRz8vlpirE46M5Afq2cXj7fQSF81AopfI+4xjpvNlkJItBuX6BRH0khjwZ9HsvqhJ+5JnUI1pLxN8T2to/8ox9U/ItPqHLU20xxS+OVTSSmjhIIH3M51oa2vOEAKrerxlho/QjPmmqEpmcV4IvZRS52iw==
</ds:X509Certificate>
You need the single line that starts with “MII…”. It’s a quite long one.
Setting up piler
We’ll create a file named saml2.php. Grab its skeleton at https://github.com/jsuto/piler-examples/blob/master/examples/saml2/saml2.php, and we’ll update some values.
- replace “archive.example.com” with your archive hostname
- replace “keycloak.example.com” with your Keycloak hostname
Generate a private key and certificate
Be sure to fix the certificate subject using your archive’s hostname, country, state, company name, etc.
openssl req -newkey rsa:4096 -new -nodes -x509 -days 3650 -keyout private.key -out public.crt \
   -subj "/C=HU/ST=Budapest/L=Budapest/O=Example/CN=archive.example.com"
Write both private key and certificate to saml2.php
python3 -c 'import sys; print("".join(sys.stdin.read().splitlines()))' < private.key
Put the output to $settings[‘sp’][‘privateKey’]
python3 -c 'import sys; print("".join(sys.stdin.read().splitlines()))' < public.crt
Put the output to $settings[‘sp’][‘x509cert’]
Get the SAML2 IdP certificate
Copy the certificate value what we referenced as “IdP certificate” above, and put it to $settings[‘idp’][‘x509cert’]
Copy saml2.php to /etc/piler
cp saml2.php /etc/piler
Enable SAML 2 authentication
Set the following to /etc/piler/config-site.php:
$config['ENABLE_SAML2'] = 1;
Login to the piler GUI
Let the users click on the “saml2” link with the fingerprint icon on the login screen
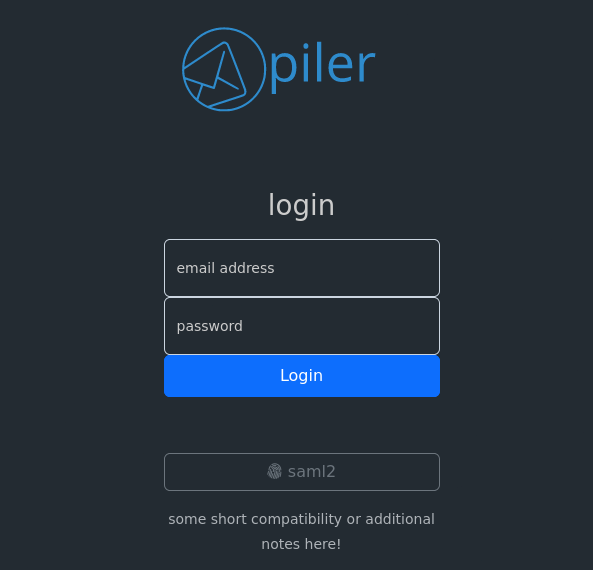
The link takes them to the SAML 2.0 server, ie. Keycloak in this example.
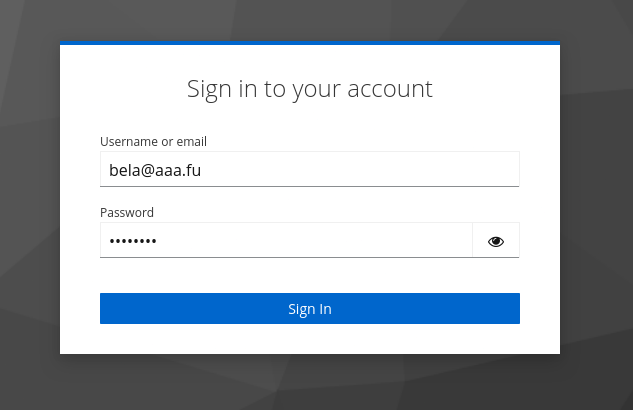
After typing their username and password, they are redirected back to the archive.
Note that setting up a 2-factor authentication (2FA or MFA) is out of the scope of this article, but it’s highly recommended at the Keycloak side for user authentication.
Conclusion
You have secured the authentication using SSO to the piler GUI with Keycloak that provides SAML 2.0, an enterprise grade authentication method.