Using Aws Cognito Single Sign On Sso
05 Apr 2021 - sj, tags: archiving, insights, news, product
Single Sign-On (SSO) is an important feature towards security. The benefits are huge. Users don’t have to memorize several passwords to access company resources, a single strong password is enough. SSO providers often add other useful perks, eg. password recovery, 2FA, protection against brute-force password attacks, etc. In this article we’ll see how to delegate the piler GUI authentication to AWS Cognito using its SSO capabilities.
Create a user pool
Login to the AWS console, and select the appropriate region, eg. us-east-1, then the Cognito service. Click on “Manage User Pools” button, then on “Create a user pool”.
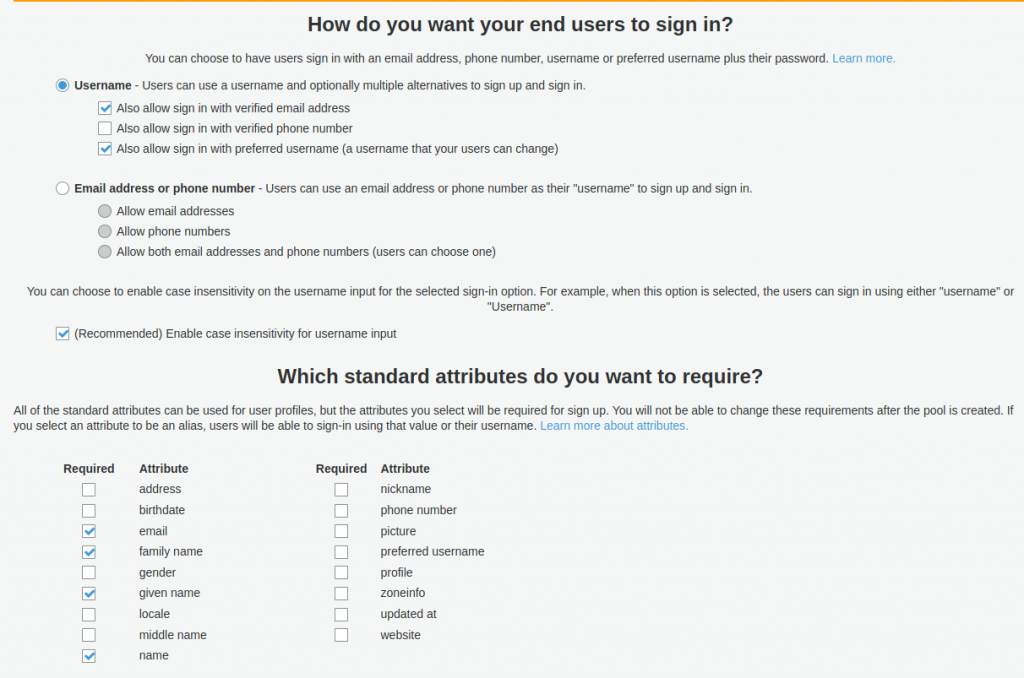
Give a name to the user pool, eg. “myorg-user-pool-1”, then click on either “Review defaults” or “Step through settings”. For now we choose “Review defaults”. However, don’t rush to create the user pool yet, because we need to allow users to sign in with verified email address or with the preferred username, as seen in the below image. Also you may set the required user attributes such as email, family name, etc. When done, click on “Create pool” button.
Note that once you create the pool, the settings in the “Attributes” section are fixed, you cannot change later.
Adding users
You may add the users on your own, or you may allow them to signup for themselves. The latter option can be adjusted later as needed. For the sake of the example, let’s import a user using a csv file. Go to General settings, then “Users and groups”, and click on “Import users”. Click on the “Download CSV header”. Open it with your favourite editor, and add the user fields, like username, email, etc. Then create an import job as seen below.
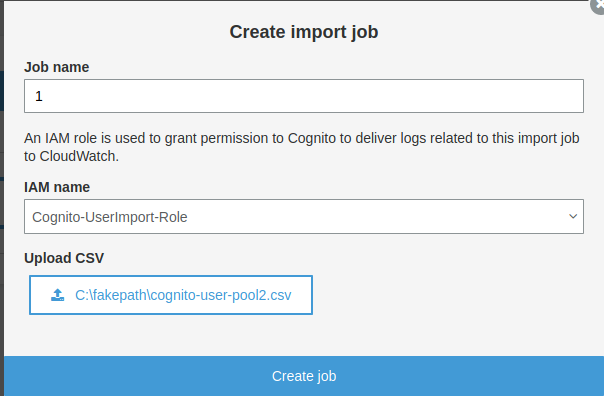
In the below example we have a single user imported, Jerry.

Visit https://docs.aws.amazon.com/cognito/latest/developerguide/cognito-user-pools-using-import-tool.html if you need more information how to use the user import tools.
Create an app client
Enter a name for the client, eg. “piler-gui”, then click on “Create app client”. Record the “App client id” value, then click on “Show details”, and record the “App client secret” value as well.

Setup the app integration
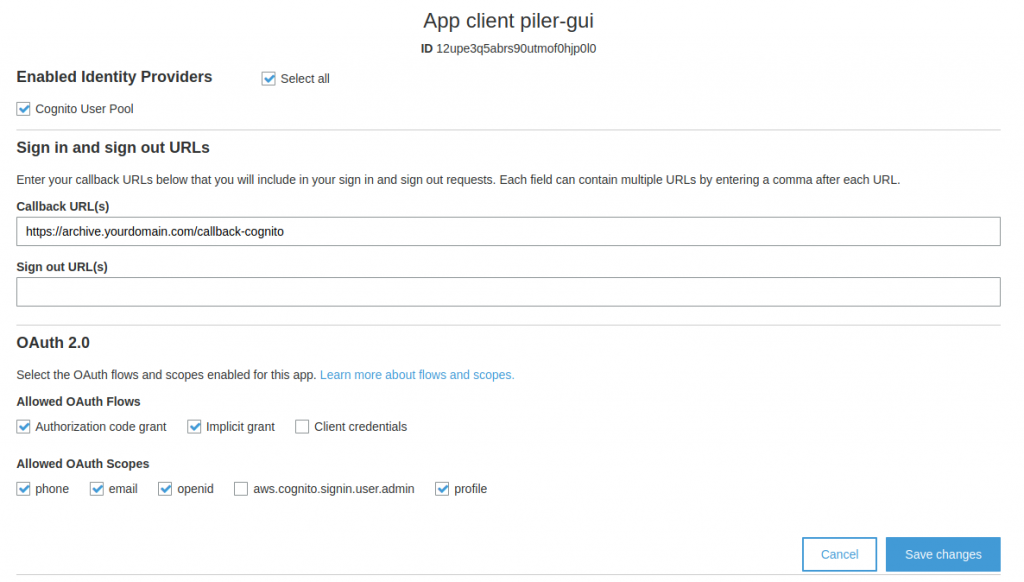
Select the options as on the bellow image, and set the callback url. It’s your archive URL with the “/callback-cognito” suffix. Save the changes.
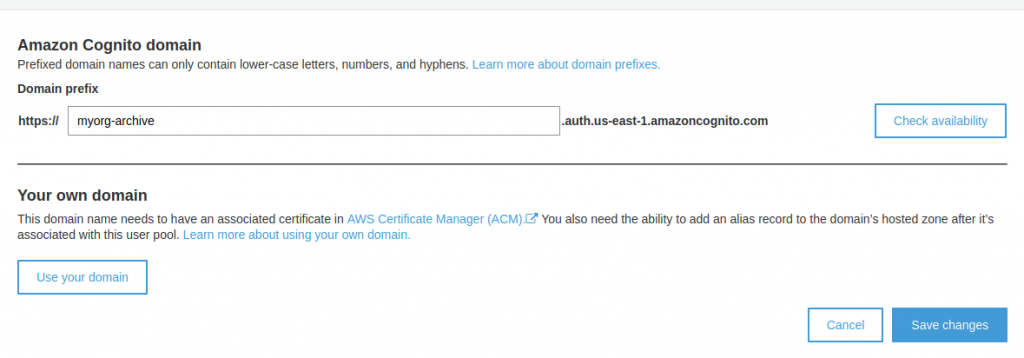
You also need to select the Cognito domain where you will redirect users to let AWS Cognito authenticate them. Select a domain prefix like “myorg-archive“, check its availability, because it must be a unique value, then save the changes.
Configure the piler GUI
Edit /etc/piler/config-site.php or the site specific config if you have the multitenant license, and set the following: $config[‘ENABLE_COGNITO’] = 1;
$config['COGNITO_CLIENT_ID'] = '12upe3q5abrs90utmof0hjp0l0';
$config['COGNITO_CLIENT_SECRET'] = 'xxxxxxxxxxxxxxxxxxx';
$config['COGNITO_REGION'] = 'us-east-1';
$config['COGNITO_CLIENT_DOMAIN'] = 'myorg-archive';
Let the users log in
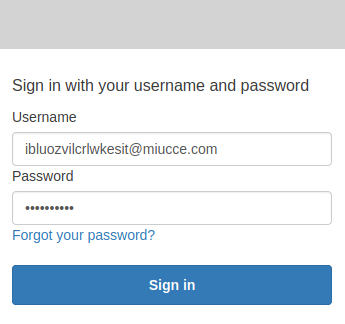
Users will see the “AWS Cognito” link on the login screen. After clicking on it, they are redirected to AWS for authentication.
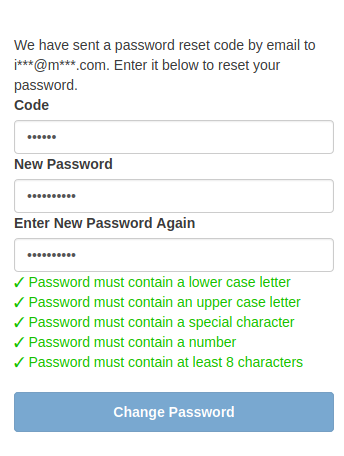
Since we didn’t assign a password for our example user, Jerry, he needs to click on the “Forgot your password?” link, and reset his password for himself. He we’ll get an email (or an sms if you configured it) with the reset code that he can use to set a password for himself.
Finally he can login with the new password.
After a successful login Jerry’s account status has changed to “CONFIRMED”

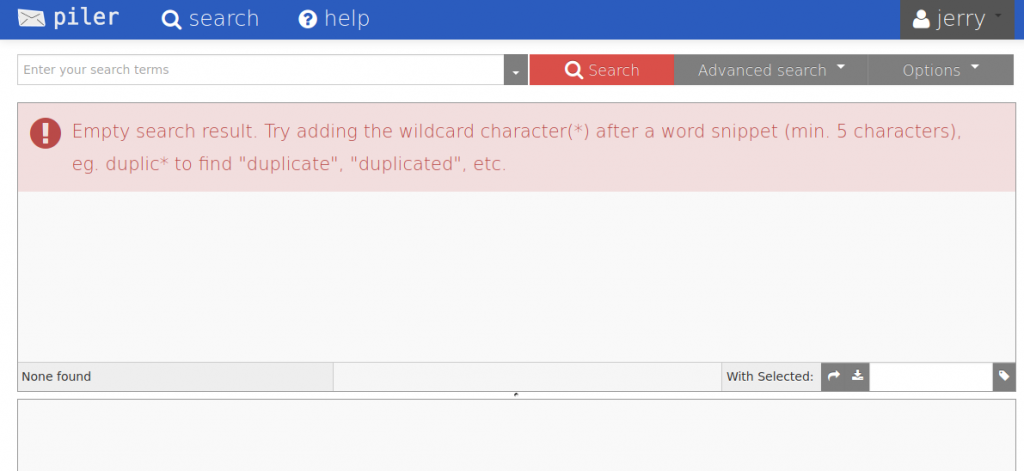
Jerry has just managed to login to the fresh archive, and waiting for his emails to be archived.
Conclusion
AWS Cognito is a handy service to have your users authenticated with SSO. Note that the free tier of Cognito allows you 50,000 logins per month. Beyond that limit AWS will charge you. See the Cognito pricing calculator for more to keep your costs in check.